When specifying a white print in your design, it is important to consider the overprint settings. These settings have a big impact on the final result. Below, we explain the difference between the two options:
overprint enabled
When overprint is enabled, the white print is printed over the underlying print. This means that both the white print and the colours underneath remain visible. As print colours are usually more opaque than white print, this will make the white print less noticeable. This setting is standard for products that require a opaque white layer.
overprint disabled
With overprint disabled, the underlying printing will not be visible under the white layer. The white print completely covers the colours underneath, leaving only the white layer visible.
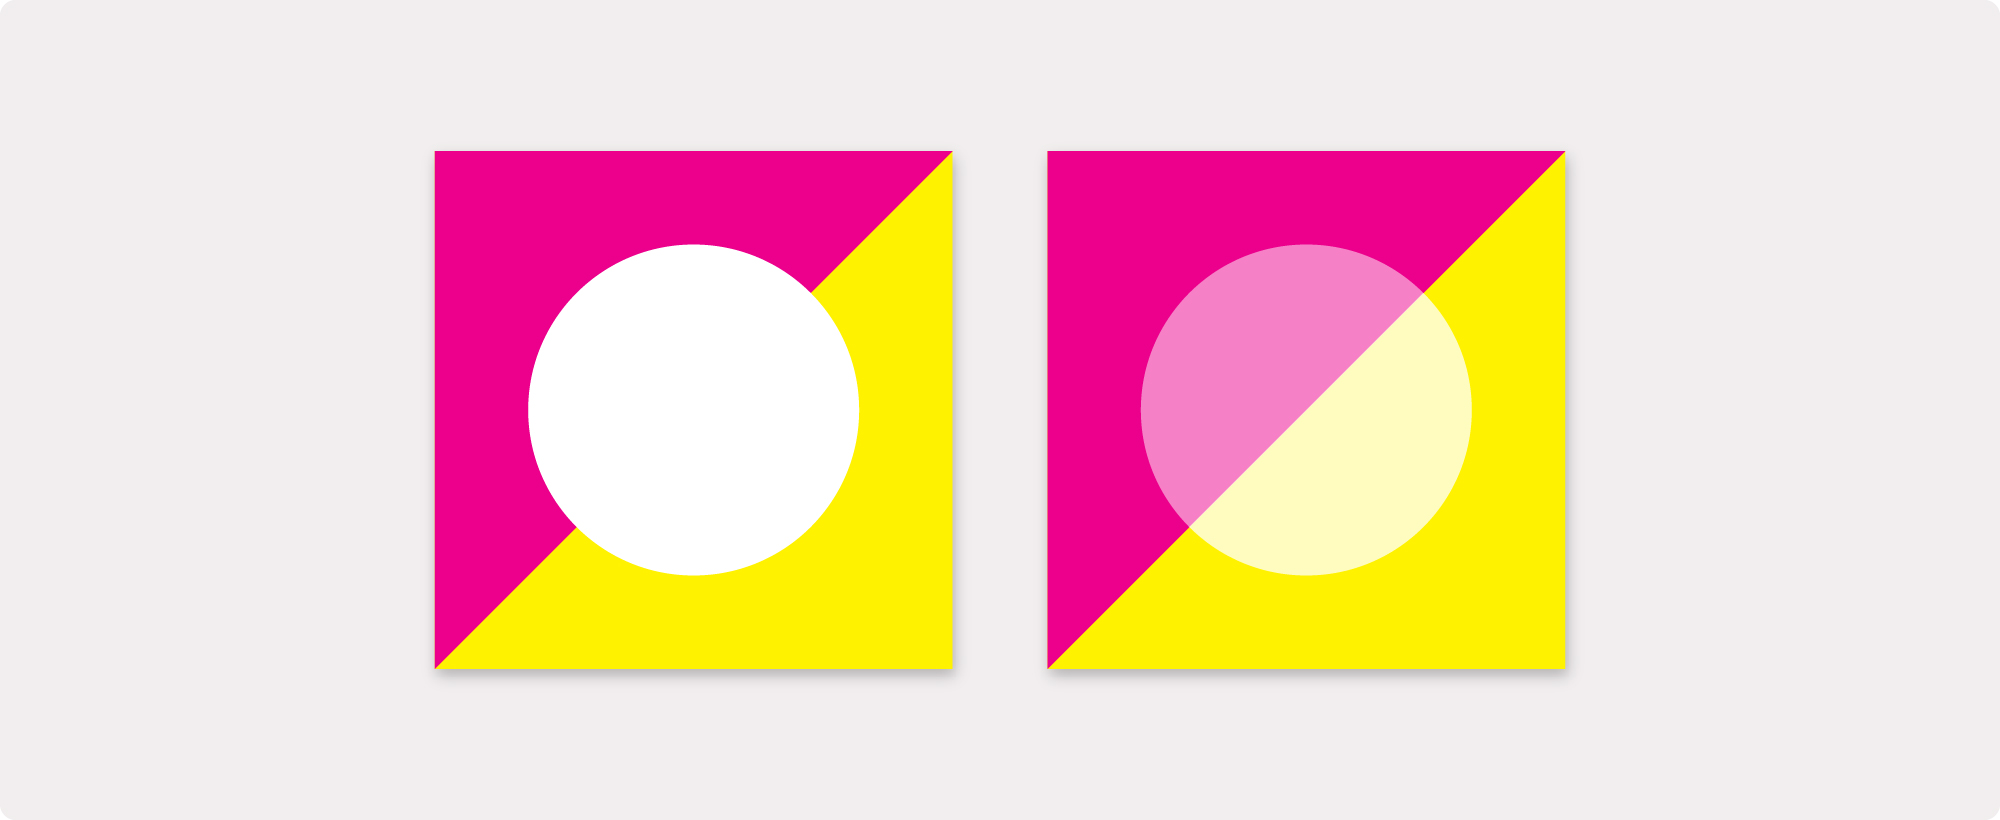
Without overprint vs. With overprint
Tip!
Do you want to make sure that no colour is visible under the white print, for example when saving a full area? Then use one of the following methods:
- Reclaim object: Copy the object, place it as an extra over the original object, set the fill colour to white (C=0, M=0, Y=0, K=0) and make sure overprint is disabled.
- Pathfinder: Use the Pathfinder function to cut the shape from the underlying print. This leaves the white printing completely free of colours underneath.