You indicate a cut line in your file using graphics software in which you can create vector illustrations, such as Adobe Illustrator. Programs such as Adobe Photoshop are not suitable for this, because photo editing programs work with pixels and not with vectors.
Step 1
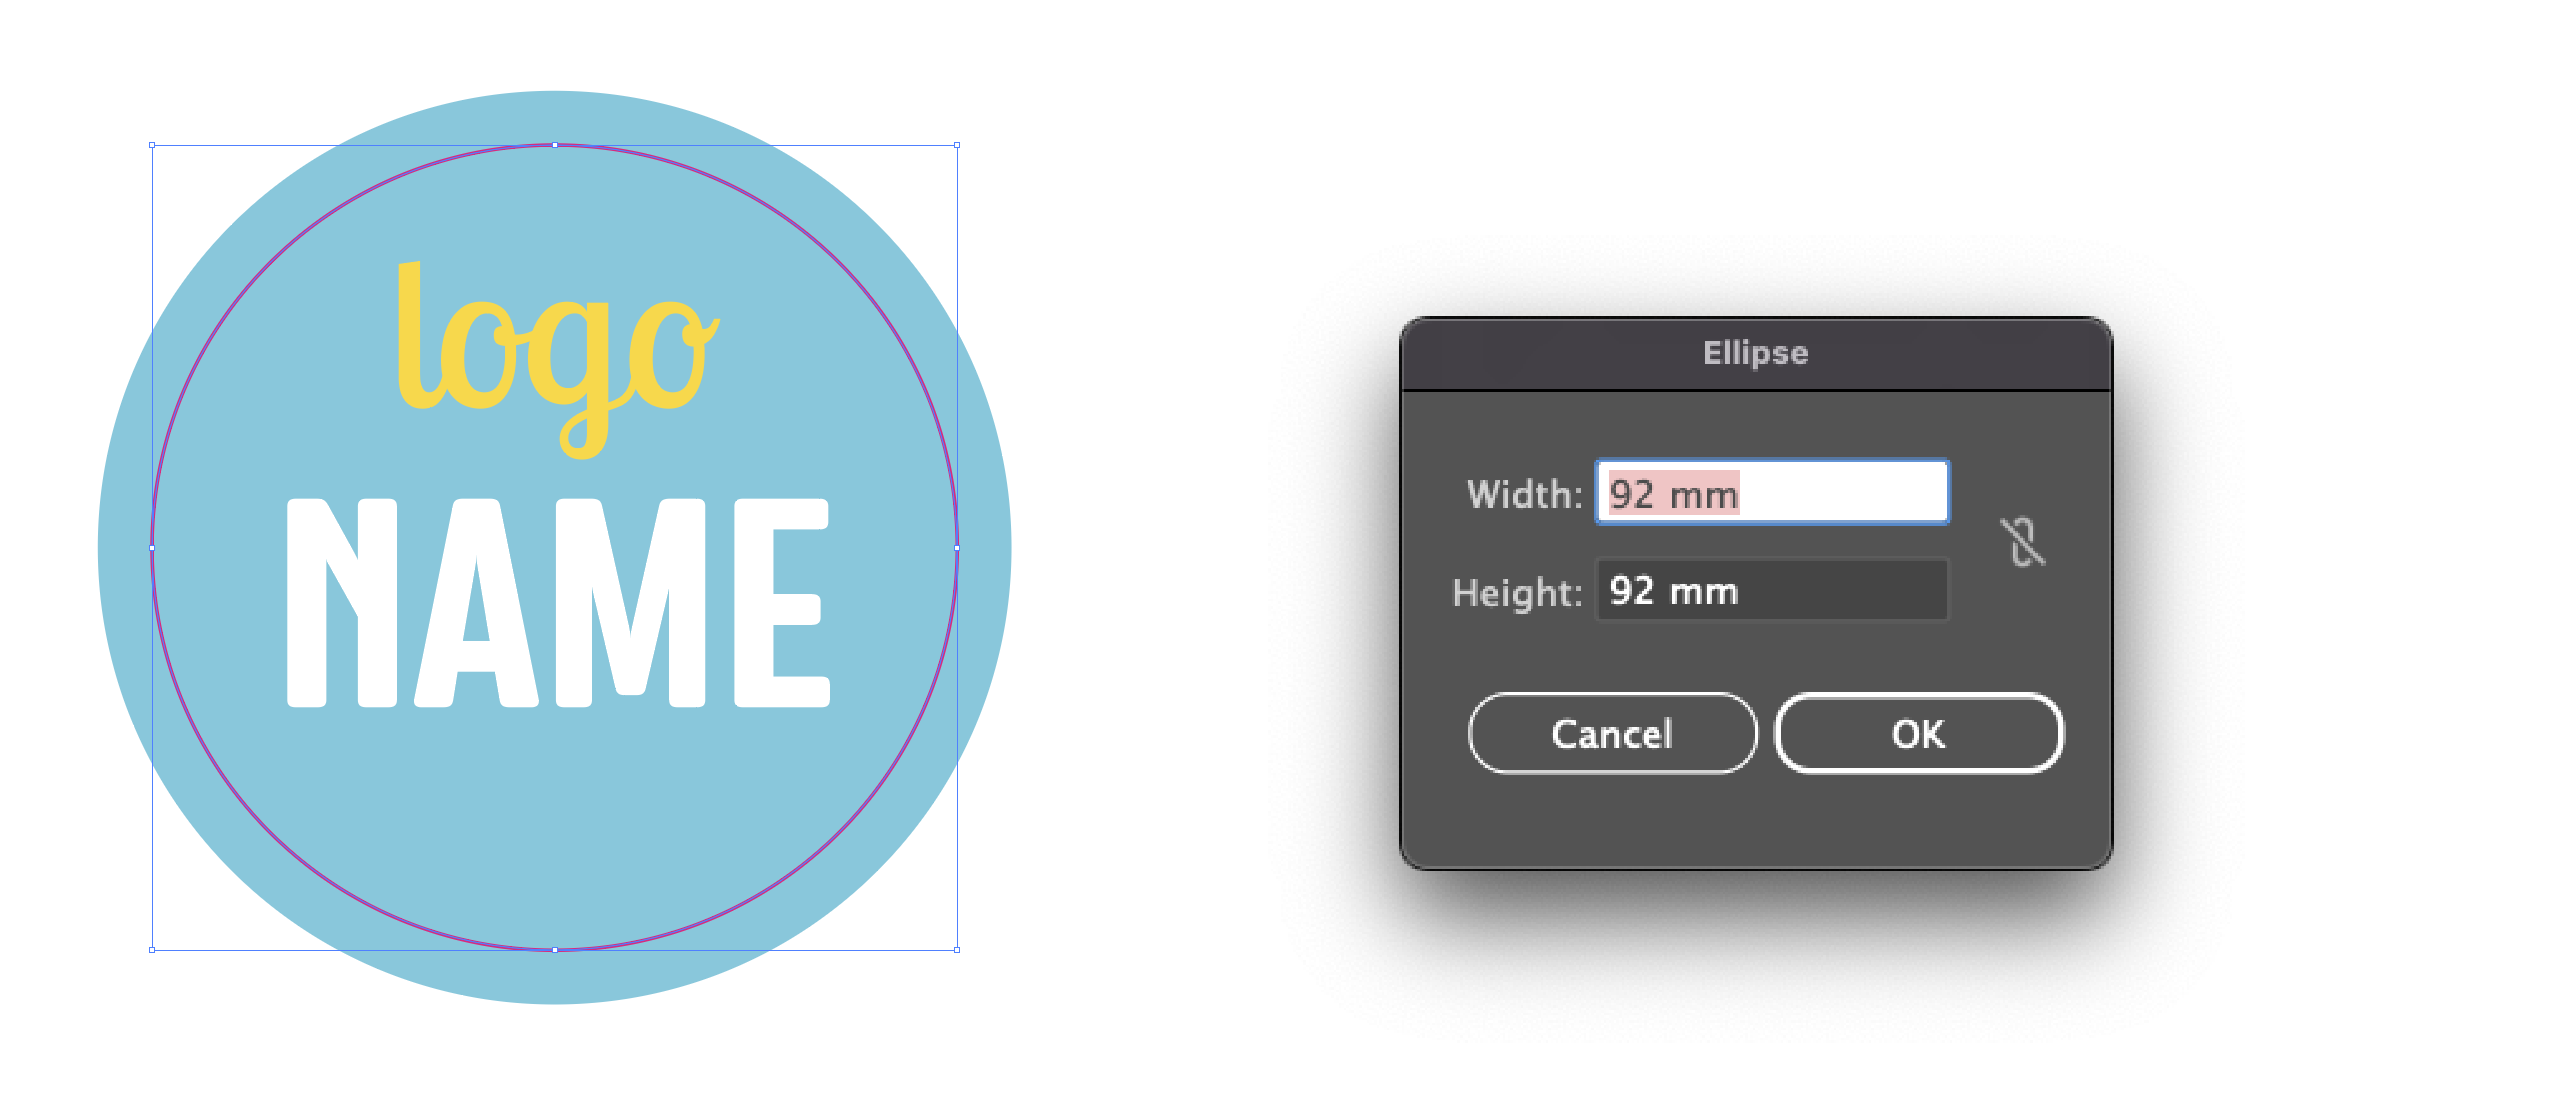
Draw the cutting line in the desired shape. It is important here that the line is closed and has no fill colour. In this example, we set the line colour to 100% magenta. 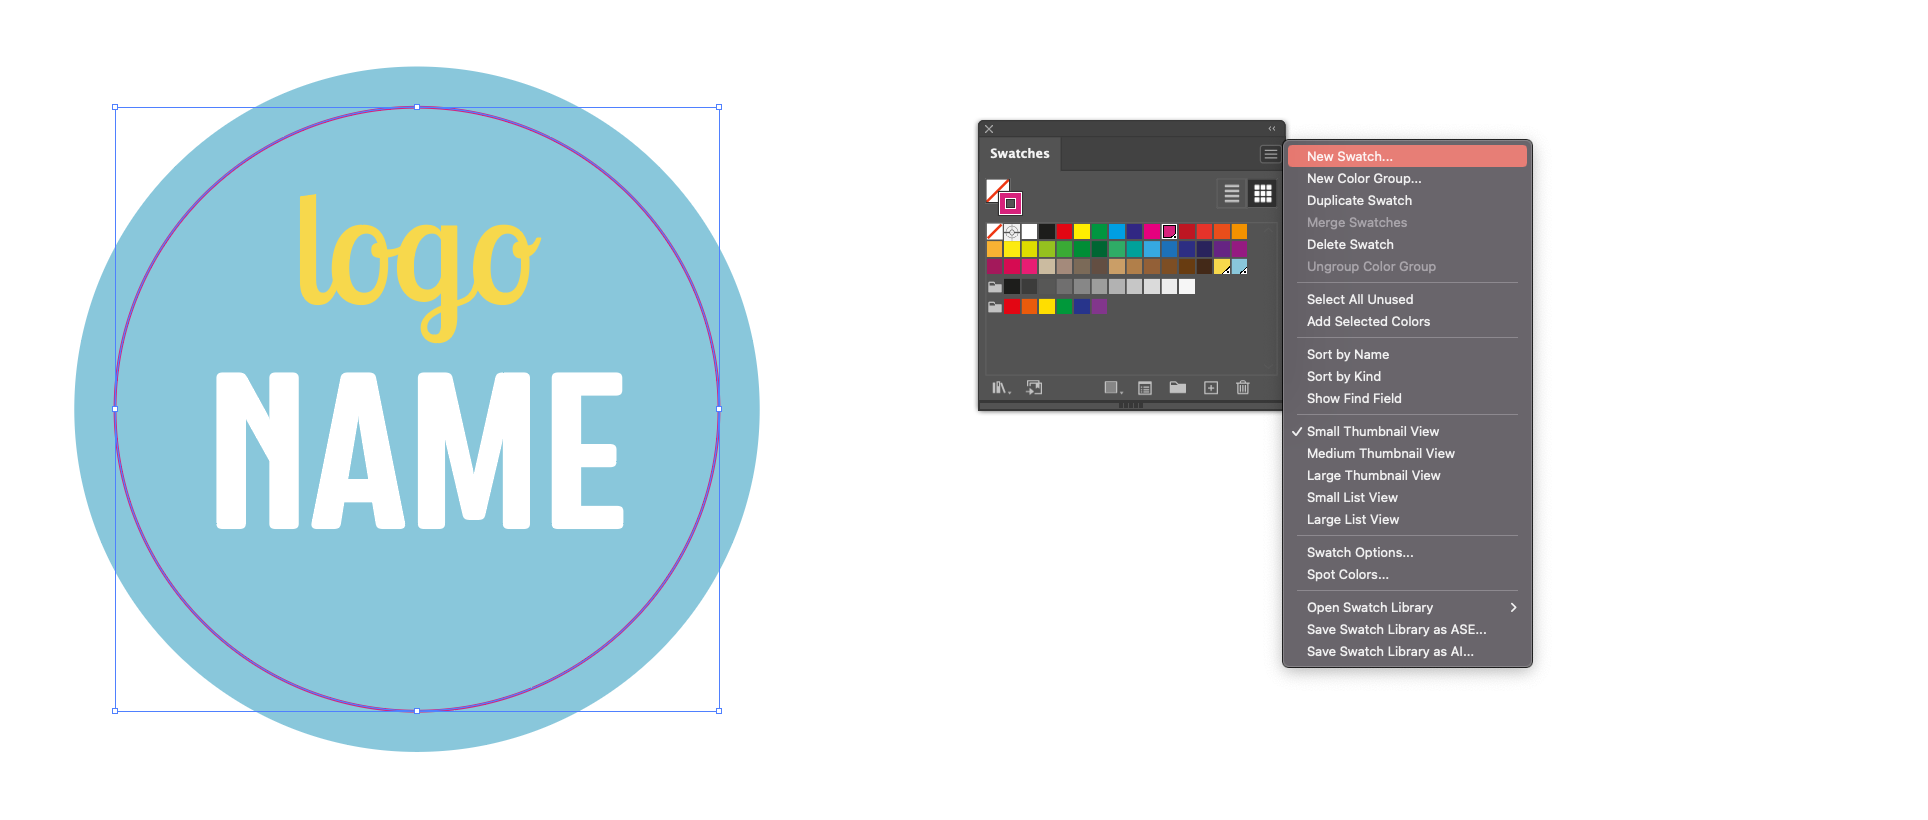
Step 2
Using the menu at the top right of this colour window, we are going to create a new colour swatch (Create New Swatch). Have you already downloaded our spot colour library? Then this colour swatch is already in there and you only need to select it.
Step 3
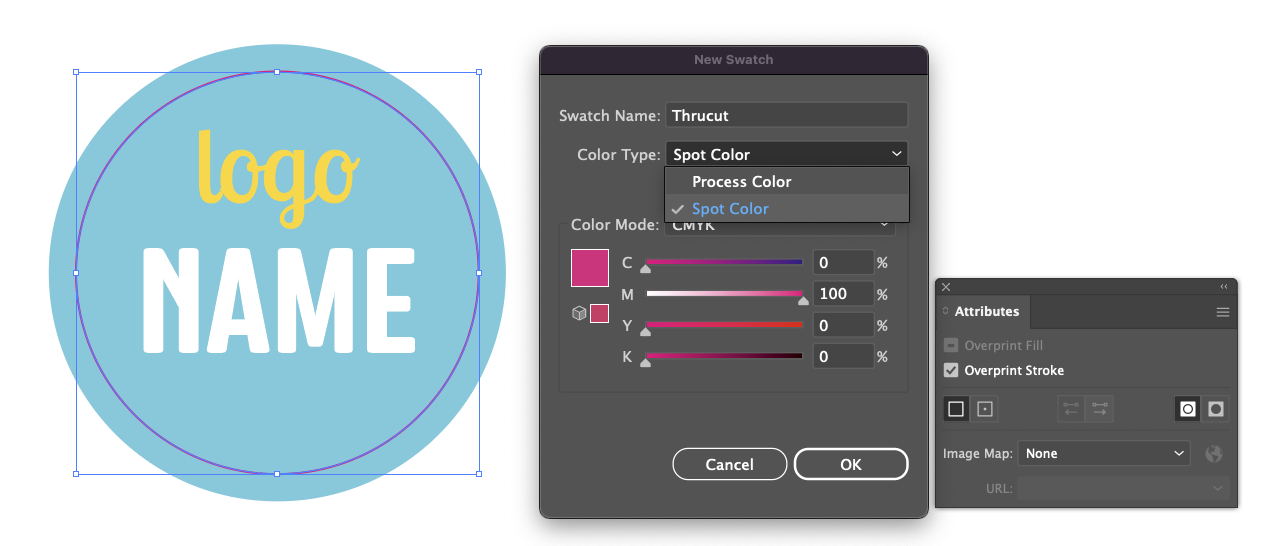
In the New Swatch window, name the colour Thrucut. For the type, choose Spot Colour. This prevents the cut line from being printed along. In the characteristics window, set the line to overprint stroke so the background colour continues under the line.
Good to know
By indicating the cut line in a spot colour, you ensure that we do not include it. Also, never put your cut line in a locked or non-printable layer. We will then not be able to read your cut line.
Make sure the alignment of the cut line is on the centre, and not inwards or outwards. Otherwise, the cut line will be read in the upload as a double line, causing problems in production.
 Always provide sufficient cutting margin in your file.
- For small format at least 3 mm.
- For large format at least 10 mm.