To use the PANTONE colour library in your design, you need the PANTONE Connect plug-in. In order to create PMS prints without this plug-in, it is also possible to use the physical PANTONE colour fan to create the desired colours yourself. We explain how to do this here.
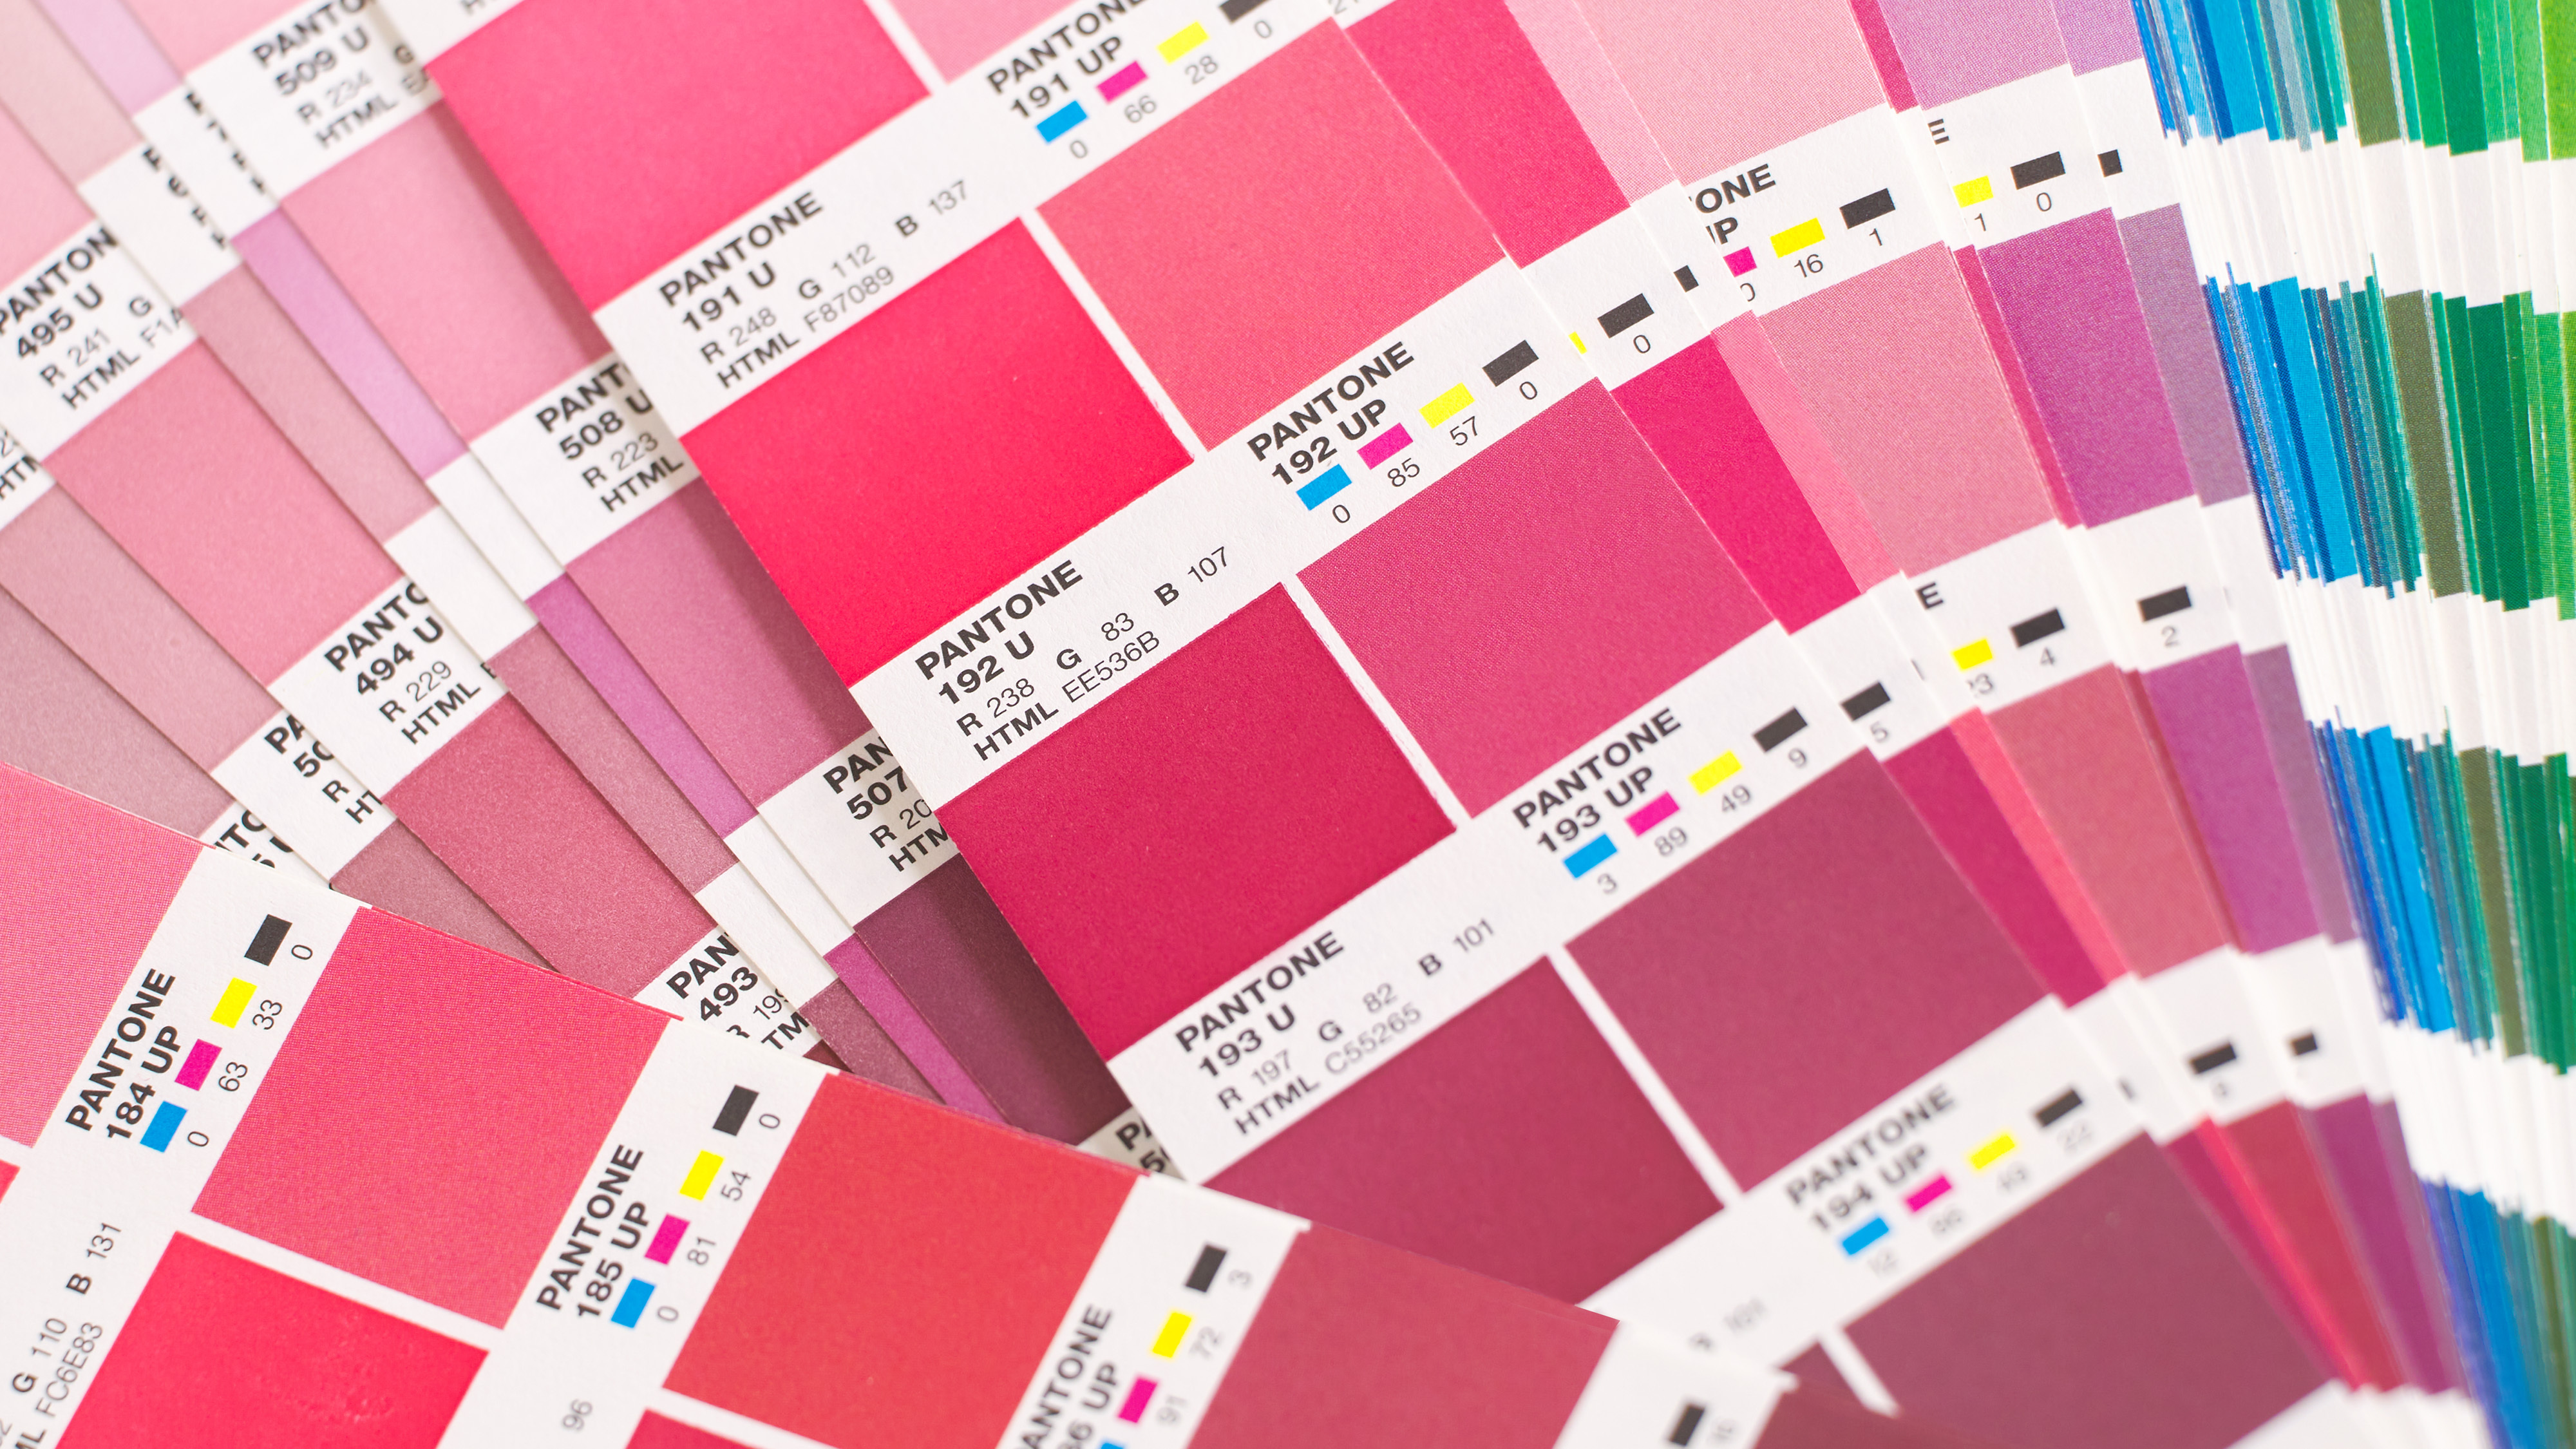
To start, we look up the desired colour in the PANTONE colour range. In this example, we want to print on uncoated paper, so we choose a colour from the Uncoated range.
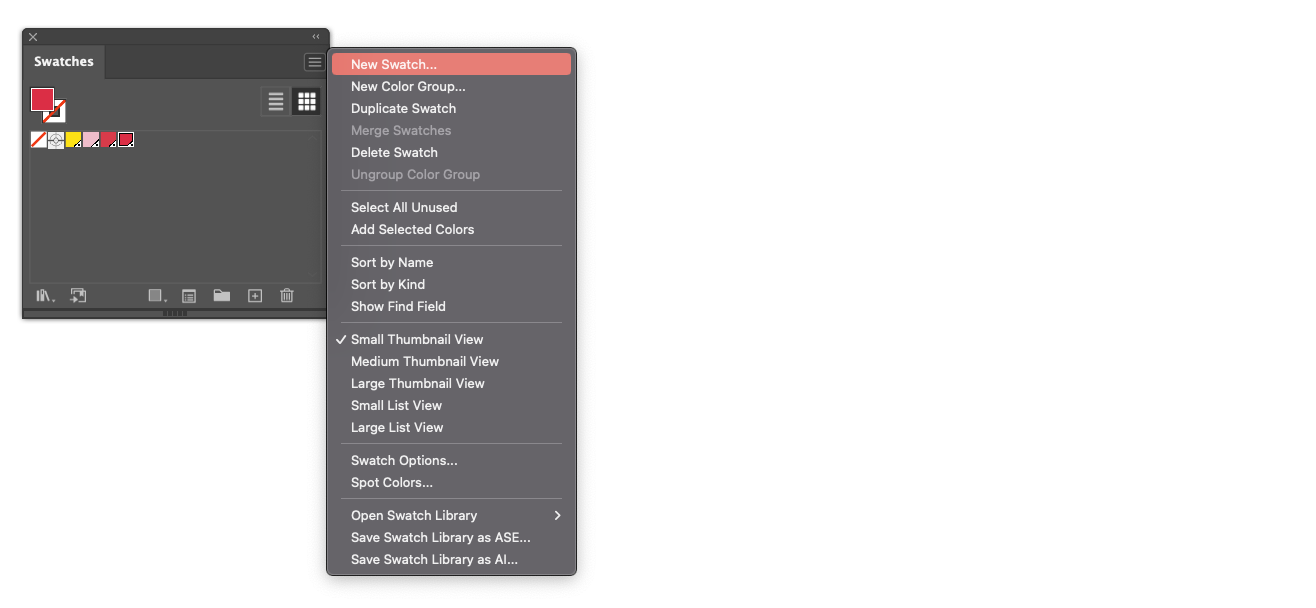
Our desired colour is PANTONE 192 U. We will now use this in our design. We do this by creating a new colour swatch via the colour swatch window.
We give this colour swatch exactly the same name as in the PANTONE colour range. So also pay close attention to spaces and typos. Under colour type, it is important that spot colour is selected. To keep things clear for ourselves, we also take the CMYK values from the PANTONE colour range.
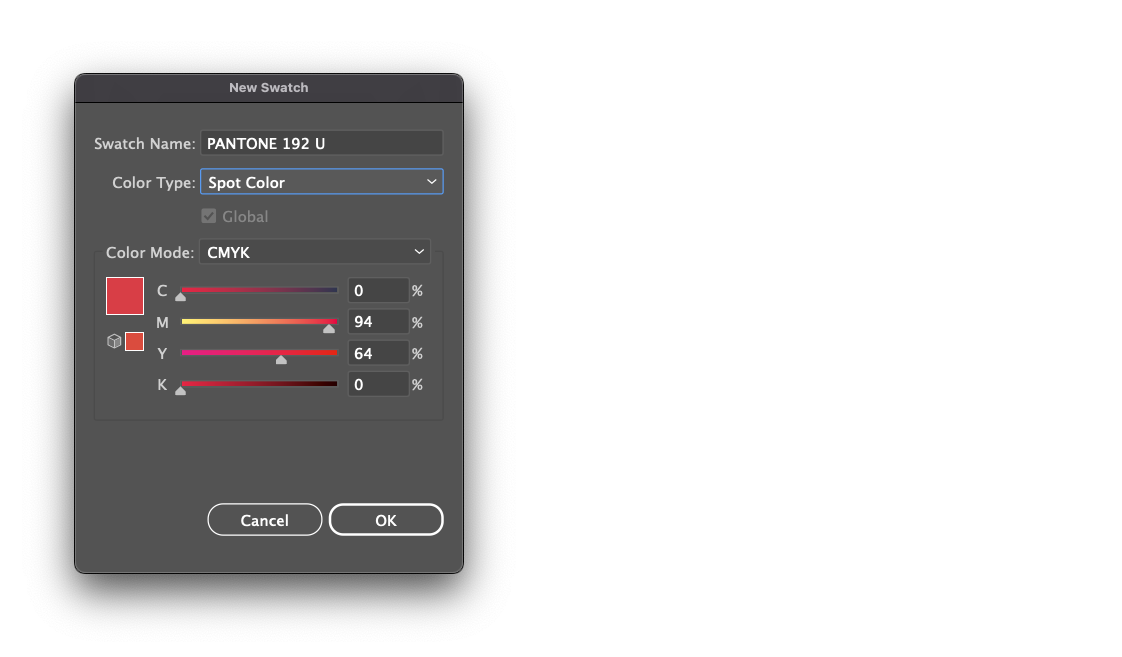
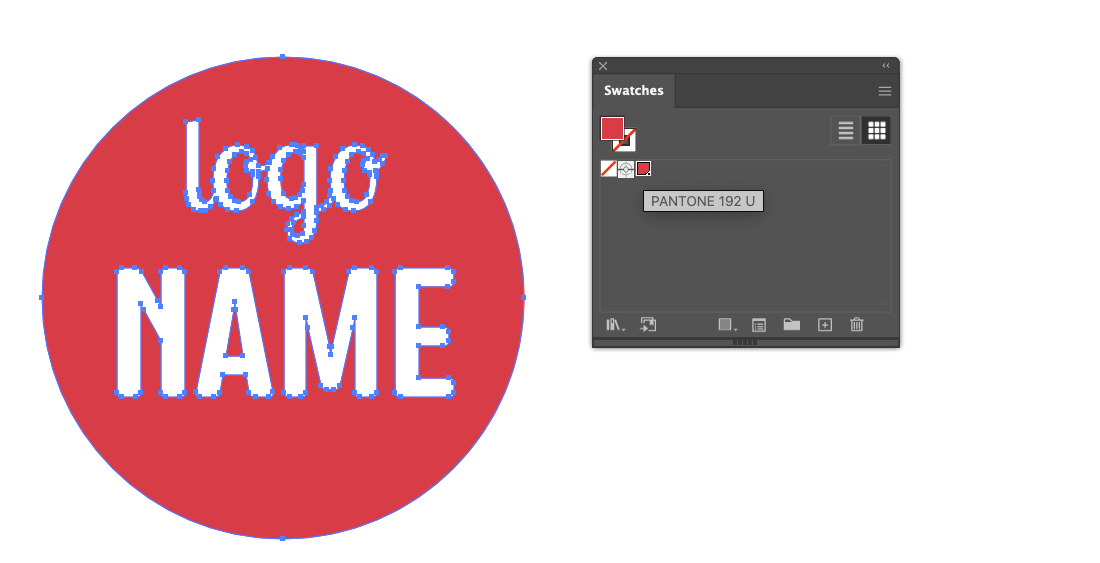
We confirm this new colour via OK, and in our colour swatch window we see the PANTONE colour. We can now assign this colour to our design.
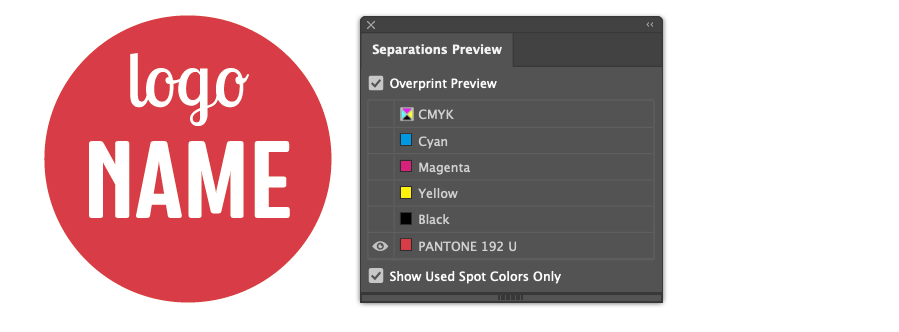
We check via the Seperations Preview whether our design actually consists of PMS colours only by turning off the CMYK visibility and seeing if our design is still complete.
Finally, we save the file as PDF, and make sure there is no colour conversion in the export settings.